Lumion BLOG
Feel the space with Lumion
New in Lumion 8.3: LiveSync for SketchUp
TweetShareShareShareSee your building while you build it in an environment that’s so realistic, it’s like you’re pushing and pulling real-life buildings into shape.
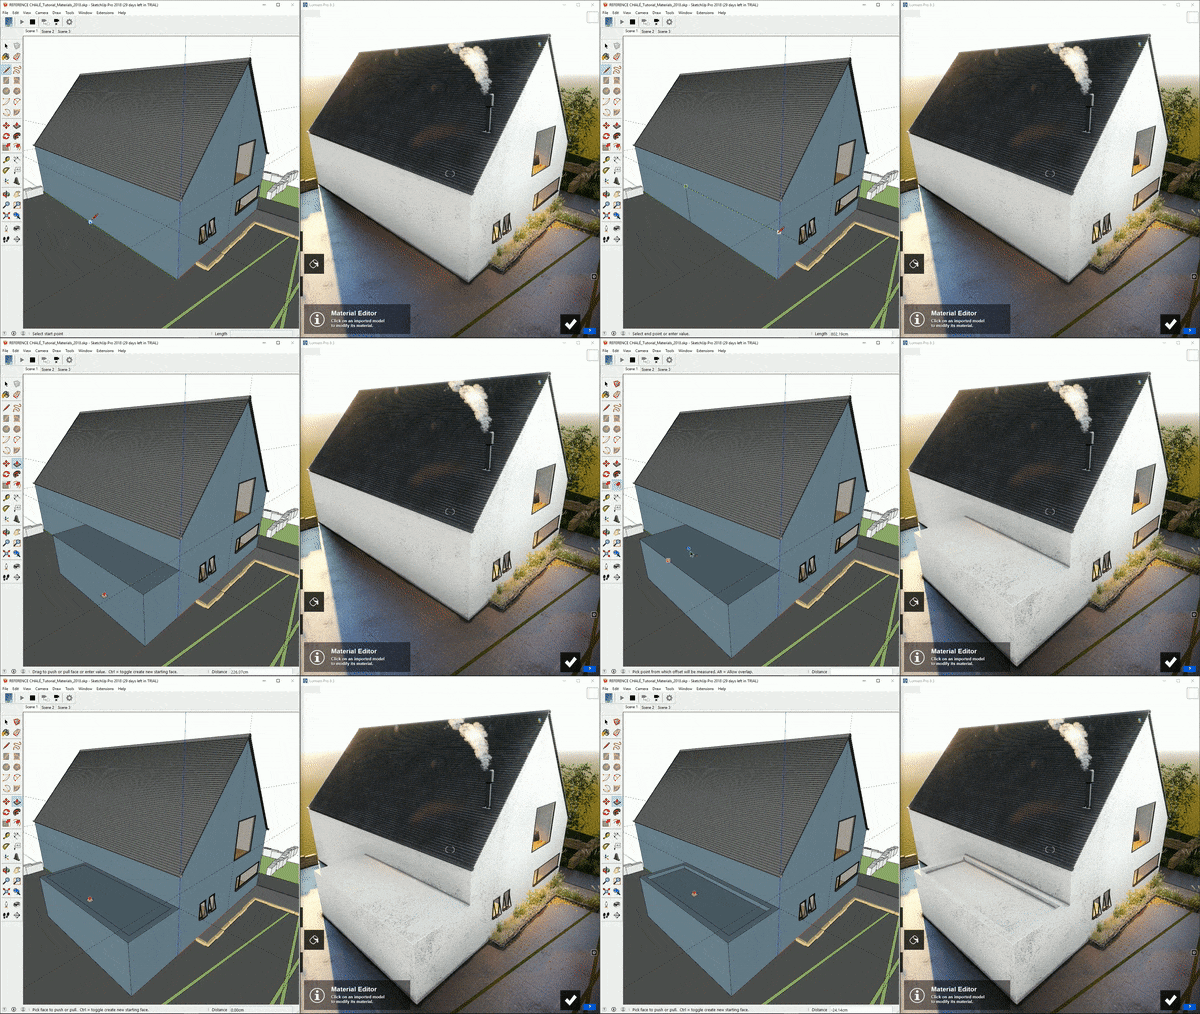
New in Lumion 8.3, LiveSync for SketchUp creates a live, real-time link between your SketchUp model and Lumion’s beautiful, fully featured environment.
Now, as you interact with your model in SketchUp, the LiveSync for SketchUp functionality provides high-quality feedback for solving design problems or presenting your work in the context of the real world.
Add a window in SketchUp, such as in the gif at the top of this post, and your Lumion scene updates instantly with realistic lighting, natural-looking materials and real-life context. Place trees, people and photorealistic or artistic effects for a supercharged SketchUp workflow that’s second-to-none.
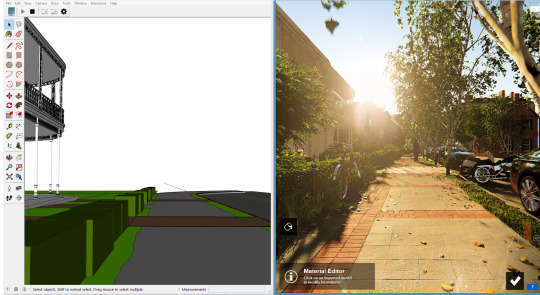
In this blog post, you can explore all of the new features and functionalities of LiveSync for SketchUp. The topics covered in this post include:
- How to download and install the LiveSync for SketchUp plugin
- LiveSync Demo — The Simple House
- Real-time camera synchronization
- Real-time materials synchronization
- Adding objects to your synchronized scene
- View your SketchUp model with photorealistic or conceptual effects
- Importing and saving your project
Lumion 8.3 is a free update for Lumion 8 users. In addition to the SketchUp plugin, the new Lumion 8.3 includes an all-improved LiveSync for Revit.
The LiveSync plugins for SketchUp and Revit are free for everyone.
How to download and install the LiveSync for SketchUp plugin
LiveSync for SketchUp is only available for Lumion 8.3. If you already have Lumion 8, you can update to the latest version by looking for the ‘Getting Started’ email in your inbox.
If you didn’t receive the email, visit our Knowledge Base article, ‘How do you get the email with the Lumion download link?’
The next step is to get the Lumion LiveSync for SketchUp plugin. It’s available in the SketchUp Extension Warehouse, which you can find in two places:
- On your local copy of SketchUp
- Via your web browser
You can access the Extension Warehouse directly in SketchUp by clicking on ‘Window’ in the toolbar and selecting ‘Extension Warehouse’ in the drop-down.
Simply search for the LiveSync plugin and click on the “Install” button on the extension details page. SketchUp should do the rest.
You can see the whole process below in the following tutorial:
Manually installing the LiveSync for SketchUp plugin
If you access the Extension Warehouse via your web browser, you can download the LiveSync plugin as a .rbz file.
Through this method, you will need to install the plugin manually, but the process is very easy and shouldn’t take you more than a minute.
To install the LiveSync plugin manually, follow these directions:
- Open your version of SketchUp (the LiveSync plugin is only compatible with SketchUp 2017 and SketchUp 2018).
- In SketchUp, locate the tab ‘Window’ and select ‘Extension Manager.’
- Click on the ‘Install Extension’ button.
- An Open dialogue box should open. Locate and open the .rbz file.
- Click ‘Yes’ to proceed and install the extension.
You should now have the LiveSync plugin installed on your version of SketchUp. Locate the plugin under the ‘Extensions’ tab and click ‘Start LiveSync’ to instantly view your model in the Lumion environment.
How to start LiveSync for SketchUp
Before starting the real-time LiveSync for SketchUp, make sure that SketchUp and Lumion 8.3 are both open. Also, you need to choose a scene in Lumion. If you’re building a scene from scratch, you can use the ‘Plain’ scene.
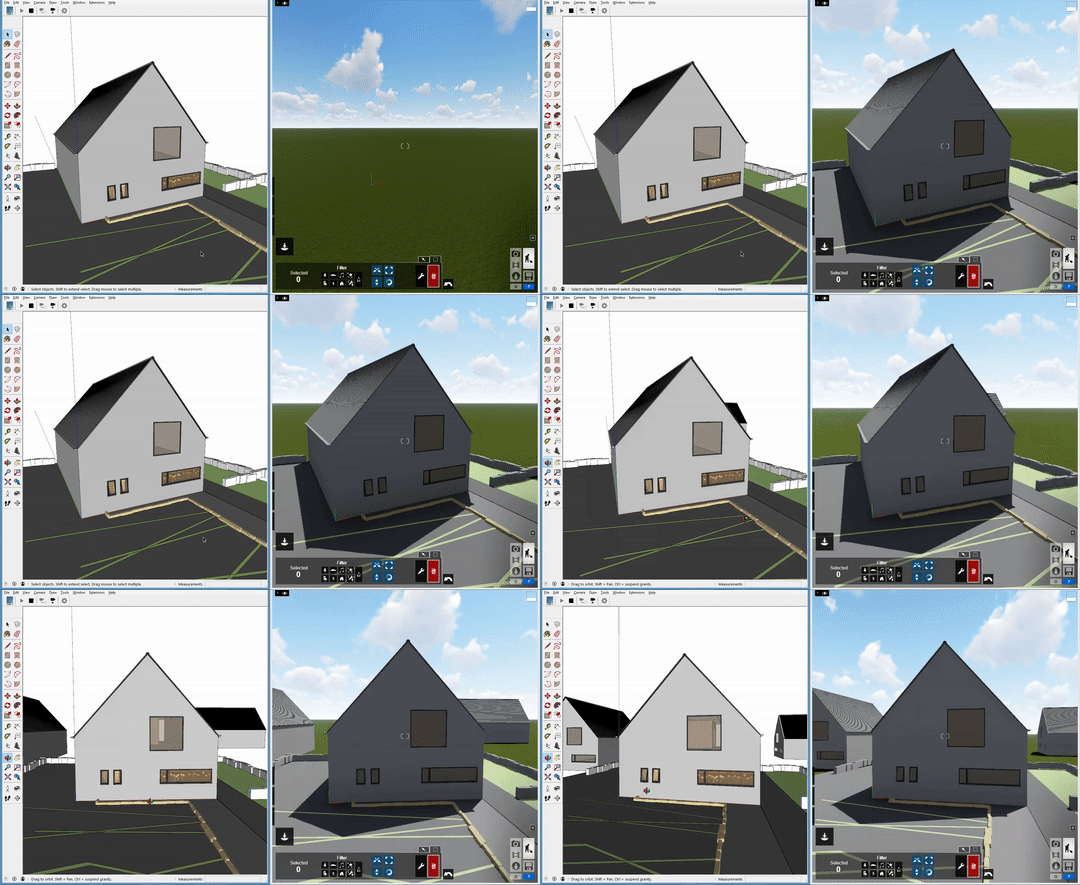
To start LiveSync, click on the Start LiveSync button. Wait a couple moments for the SketchUp project to be synchronized into Lumion.
Hot Tip: Lumion will drop the LiveSync model on the 0, 0, 0 mark. To move it off the ground terrain a little bit, select the model and move it up to 0, 5, 0.
Next, it can help to optimize your monitor setup for the best LiveSync viewing experience.
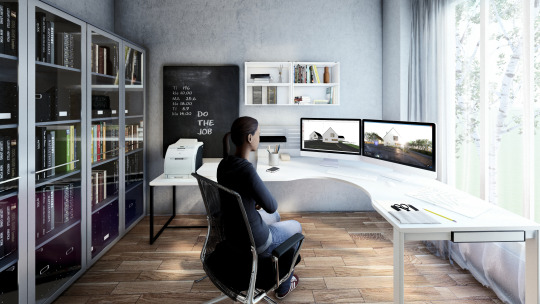
If you have a dual-screen monitor, simply drag SketchUp into one screen and Lumion into the other. It may be a good idea to have SketchUp on your main presentation computer and the Lumion window with LiveSync on the other screen.
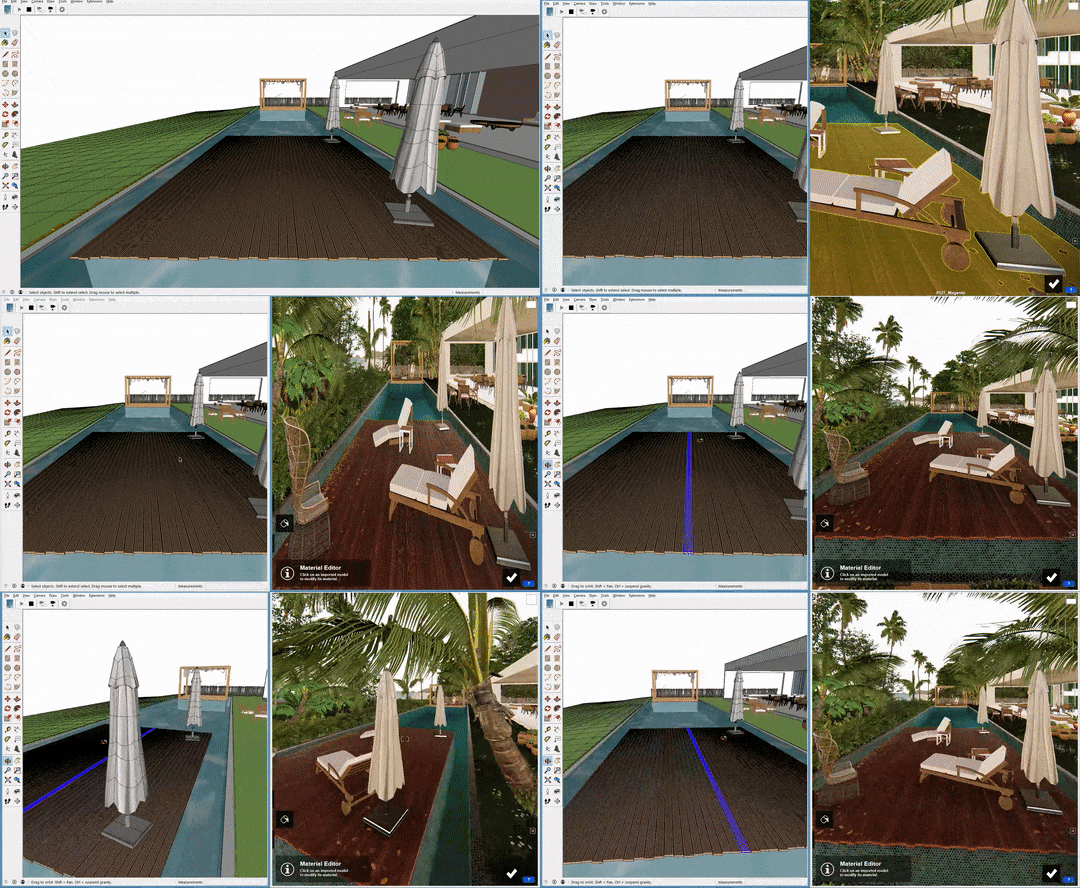
If you want to do a split screen on one monitor, such as in the gif above, you can drag the SketchUp window onto one half of the screen, and Lumion onto the other half.
LiveSync Demo — The Simple House
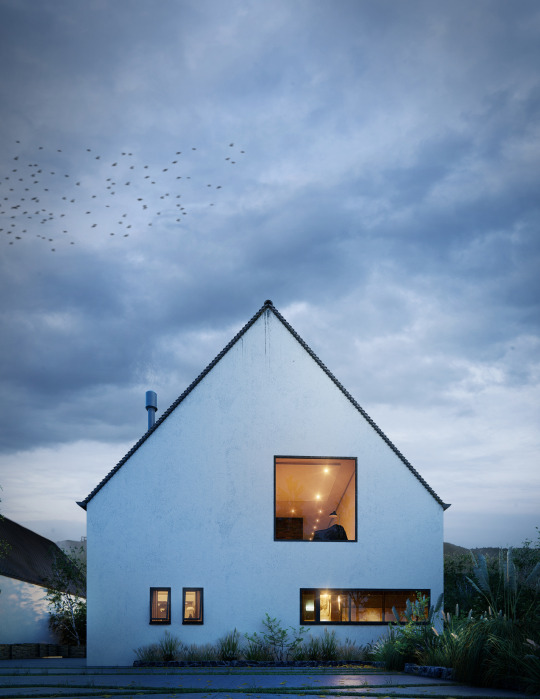
It’s like a supercharged viewport for your SketchUp model. With LiveSync running, you’ll view the model in the lifelike environment in Lumion, and you’re free to modify the Lumion scene with trees, objects, materials, atmospheric lighting conditions, effects and more.
For the demo, we wanted to use a simply shaped building to show the immediate, immersive impact of LiveSync on a SketchUp CAD model.
Although the building retains its simplistic shape in both programs, the synchronized Lumion viewport adds a whole new level of depth, space and realism to the building. This is ideal for design development and for creating truly captivating presentations.
Let’s see some other ways how LiveSync can help get you in the creative flow as you explore your project.
Real-time camera synchronization
When you rotate the building in SketchUp, the point-of-view rotates in Lumion. If you find that perfect viewing angle, you can be ensured the same perspective when you render in Lumion.
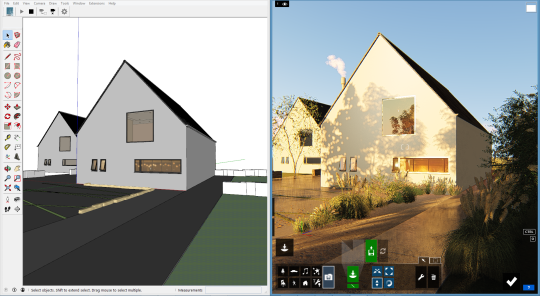
To sync the cameras, click on the ‘Start Camera Synchronization’ button in the LiveSync toolbar. Now, as you orbit in SketchUp, the project in Lumion will track right alongside it.
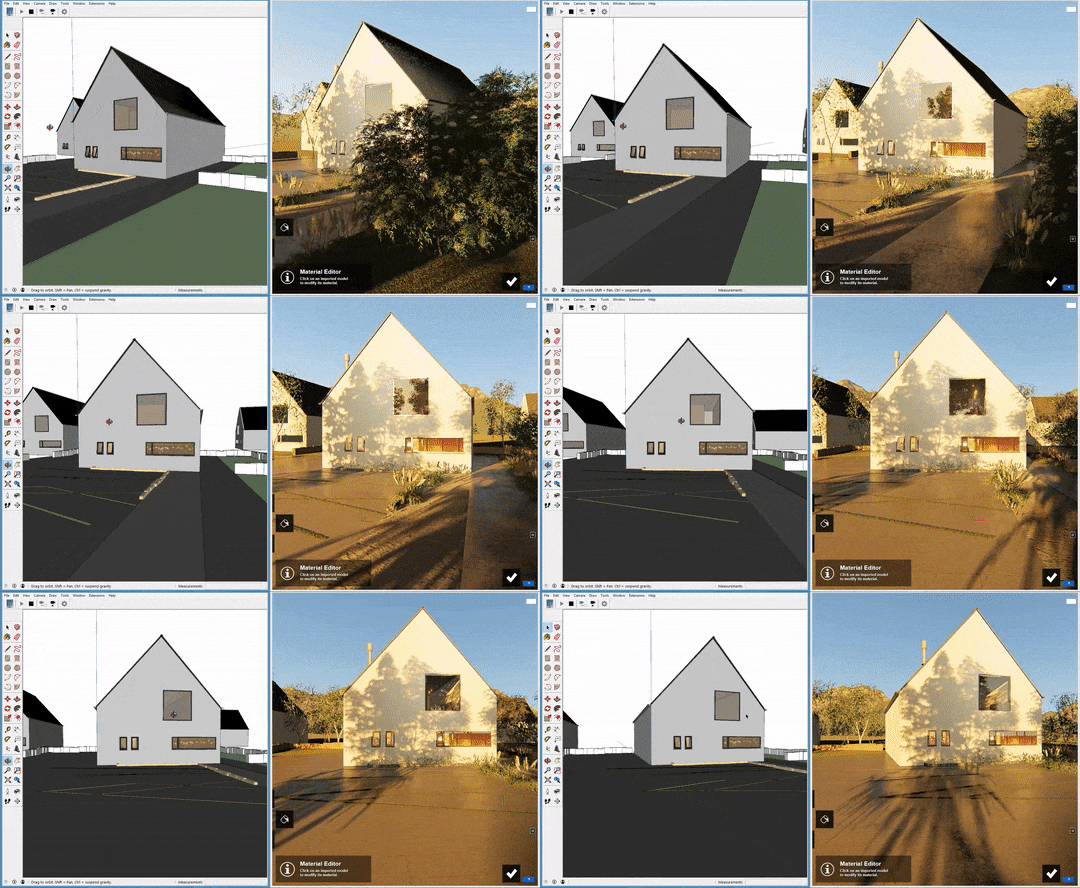
If you find a helpful camera perspective in SketchUp that you want to keep, you can save that camera angle in Lumion for future use by saving it in the Photo or Video modes.
Real-time materials synchronization
The new LiveSync also synchronizes the materials and the material assignments from your SketchUp model. As a result, SketchUp’s materials are rendered, in real-time, in Lumion.
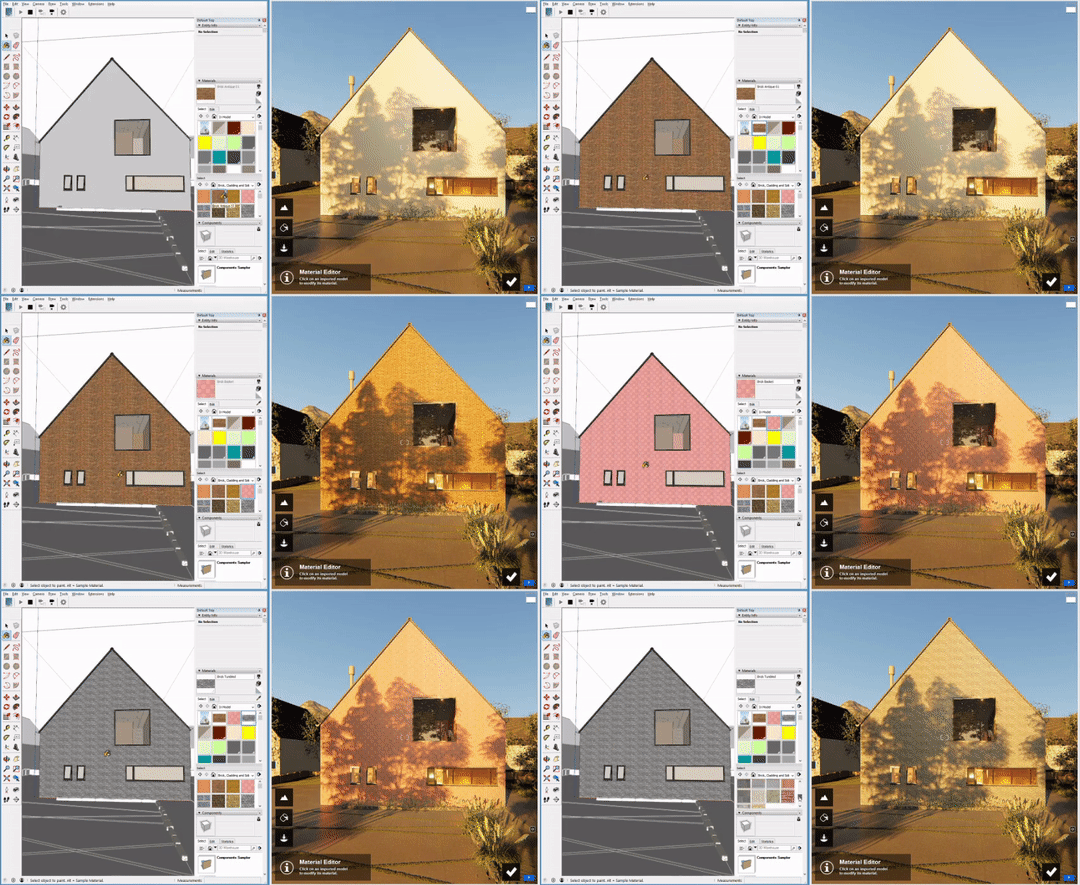
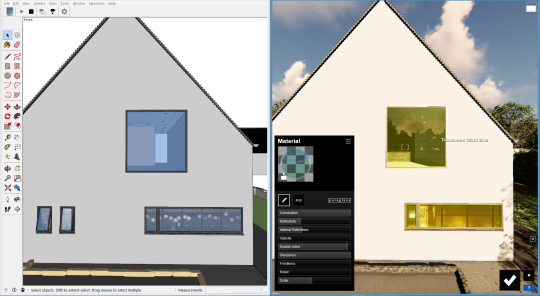
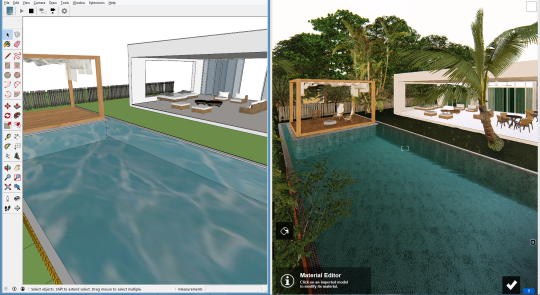
Any glass or water from your SketchUp model will become the highly realistic Lumion glass or water.
LiveSync with glass materials:
LiveSync with water materials:
LiveSync with grass materials:
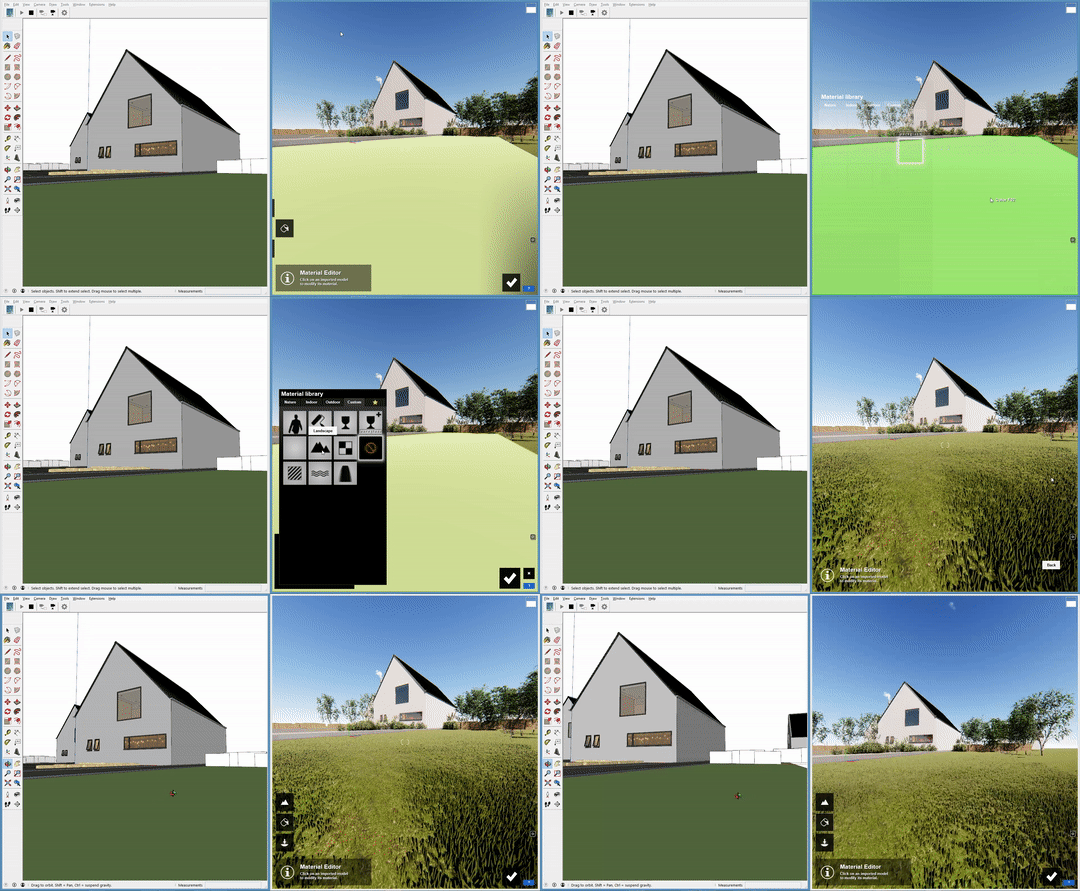
Aside from glass and water, the rest of the synced model will feature the SketchUp materials. Fortunately, you can add Lumion’s high-definition materials to the synced model and add even more depth and realism to your model.
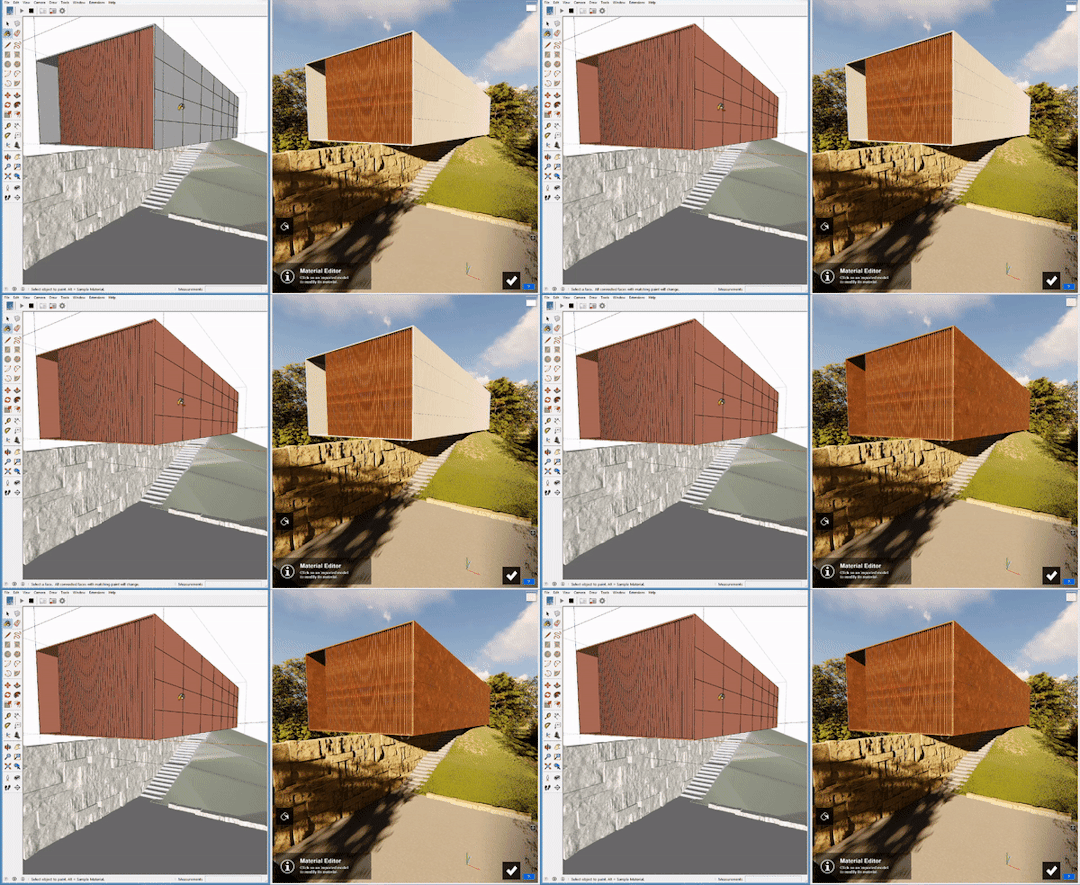
You can save and load material sets to quicken the material assignments and get a perfectly textured model instantly.
Adding objects and completing the scene
Before getting into the scene creation in photo or video mode, it can help to fill out the rest of your project with real-world objects.
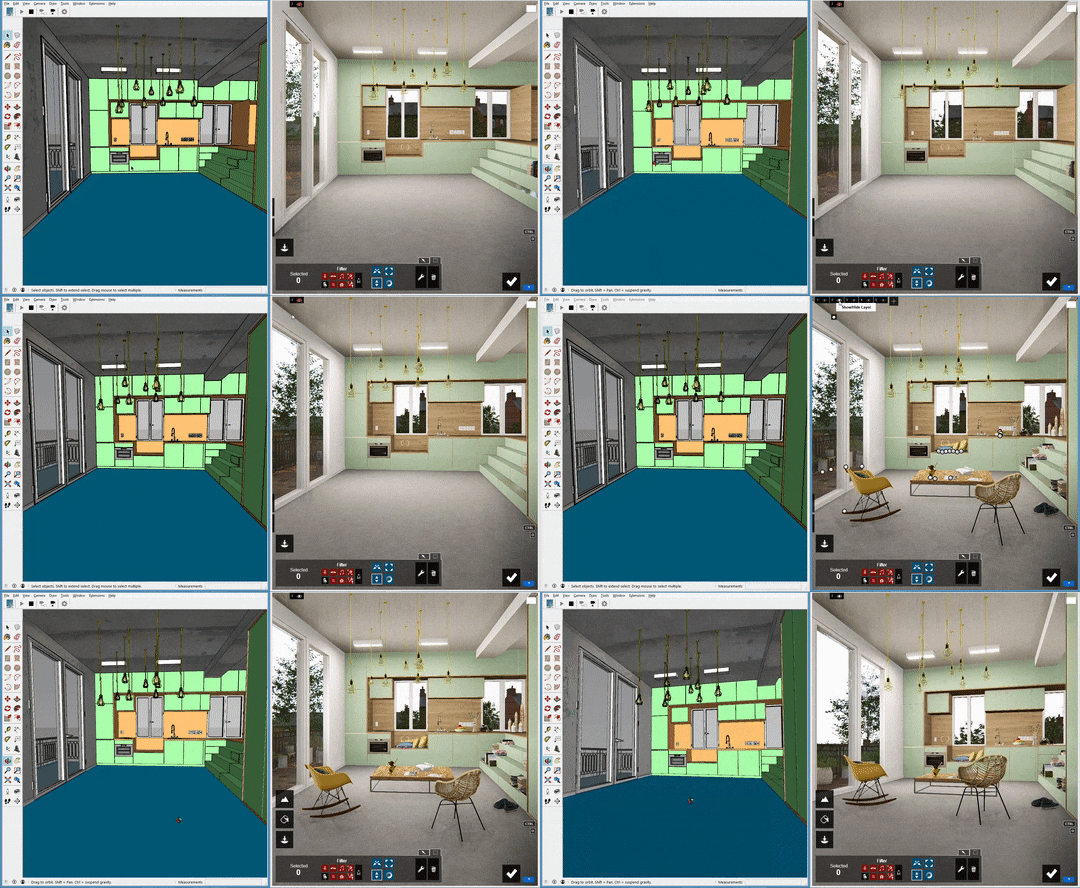
From trees and plants to furniture and lighting elements, you can build your rendered scene as you continue developing the model in SketchUp, all while creating a viewing experience that’s second-to-none.
Hot Tip: If you want to add context from another project, you can use the ‘Merge Scene’ feature in Lumion. This is an excellent feature for distributing work among a team. One person can be dropping trees while another person is texturing and setting up camera views. Once everyone has completed their work, you can simply merge the scenes.
View your SketchUp model with photorealistic or conceptual effects
By going into Photo Mode, you can view the SketchUp project in a variety of beautiful environments of your creation, both photorealistic and conceptual. Going through this process as you continue developing the SketchUp model’s design will help reduce rendering time even further.
LiveSync with a photorealistic effects stack:
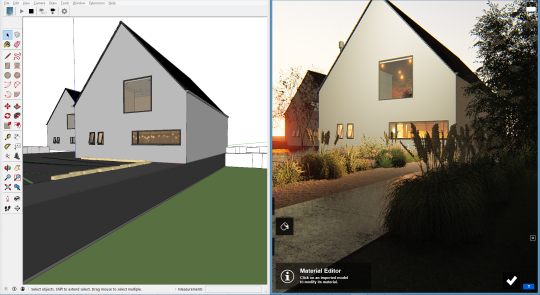
In Photo or Video Mode, you can start by loading any of your custom effect stacks, choosing one of the preset Styles, or working through the effects to develop your own style from scratch.
After stylizing the scene, if you click on “Build With Effects,” you can view the SketchUp model with a much more polished view.
Hot Tip: When viewing your model with the ‘Build With Effects’ feature, you may notice a difference with the focal length. To fix this, change the focal distance. In many cases, changing the focal length to 35mm will ensure a similar, more in-tune viewing angle.
You can also view your LiveSync project with a variety of conceptual effects, ideal for eye-catching presentations. Here are a couple examples.
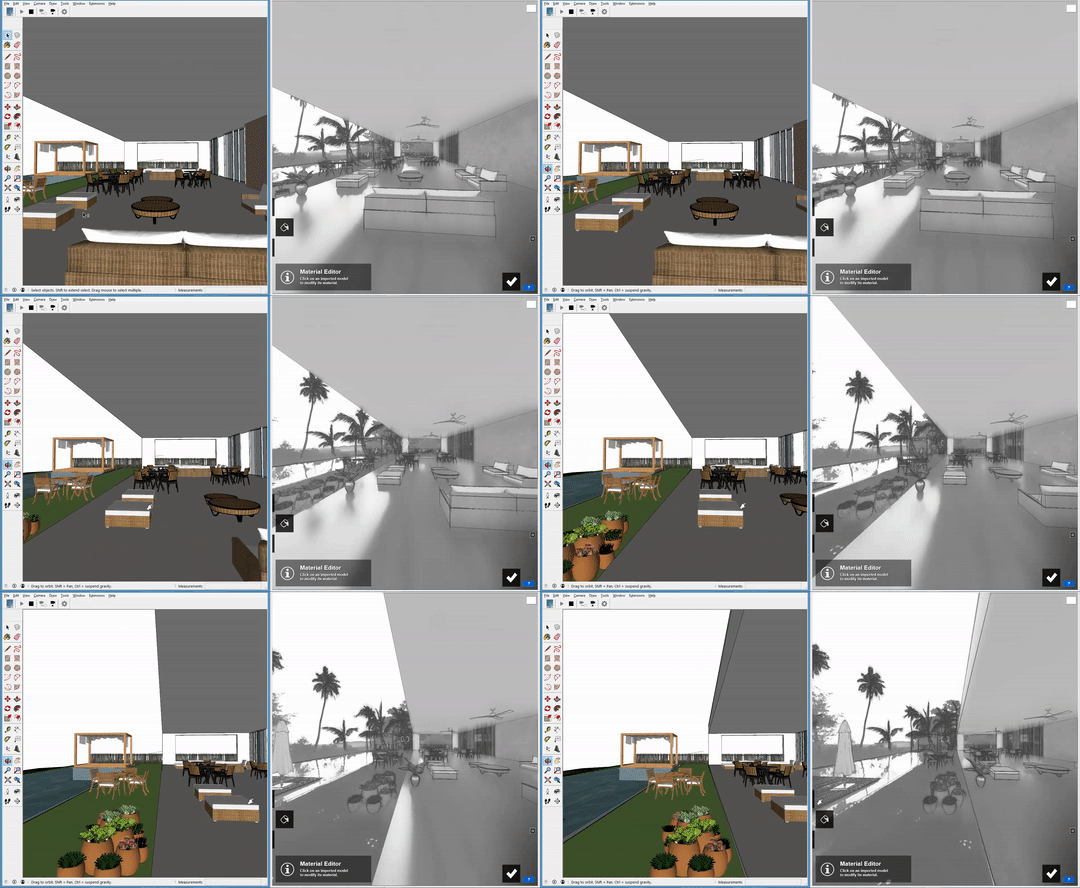
LiveSync with a Color Sketch Style applied:
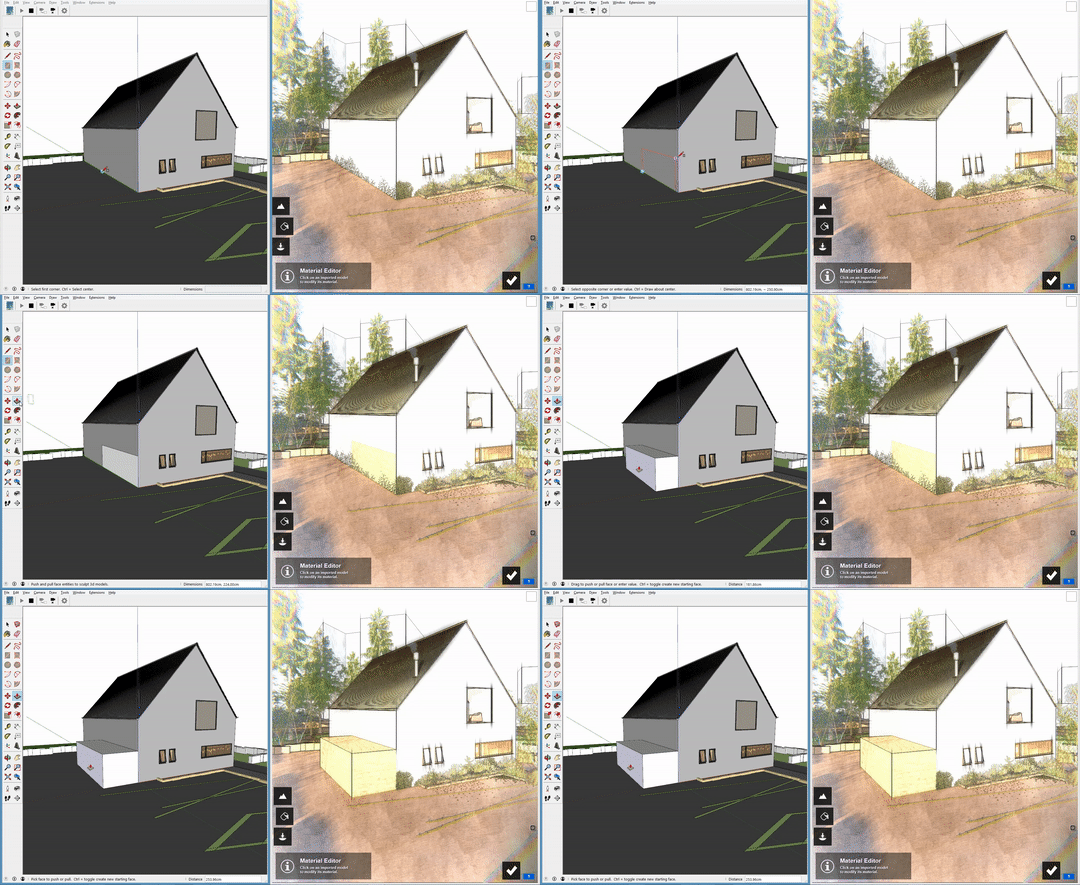
LiveSync with an outline and B&W effects applied:
Importing and saving your project
When establishing the LiveSync connection, Lumion will automatically import the SketchUp project. This means that, as you texture and work on the scene in Lumion, you can save the file as an .LS8.
The next time you start working, you can simply open the SketchUp file and Lumion .LS8 file, turn on LiveSync, and design away!
Real-time design development with Lumion 8.3
Lumion 8.3 and the new LiveSync for SketchUp enables real-time visualization like you’ve never seen before. Explore your SketchUp project in a whole new light as you continue building your model in the context of the real world.
If you already have a Lumion 8 license, then you don’t need to upgrade. Simply look for the ‘Getting Started’ email in your inbox to download and install Lumion 8.3. The LiveSync plugin for Revit and SketchUp are free for everyone.
For upgrades from Lumion 7 or previous versions, visit lumion3d.hk/upgrade.html.
#Lumion